Configure Selective Sync on your Windows PC
Configure Selective Sync during agent installation
After the Setup wizard completes, the Registration wizard will automatically launch. Click the Next button to begin the registration process. For full instructions on how to install the agent, please read this article.
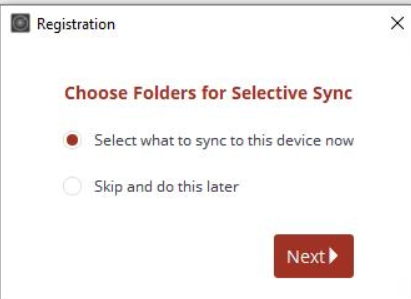
When the wizard displays the Selective Sync screen, click the Select what to sync to this device now.
Select the folders you want to protect.
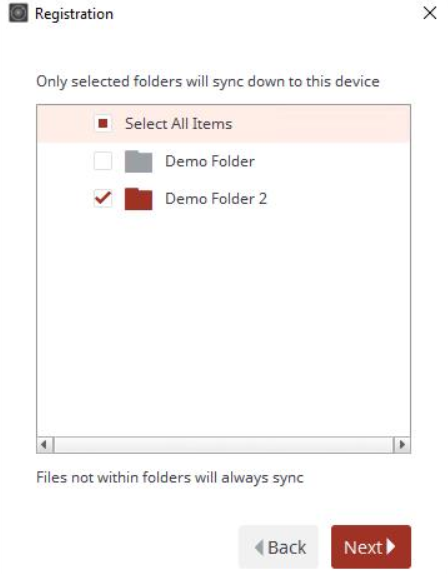
You can unsubscribe your local machine from syncing a Team Share by deselecting the top-level checkbox adjacent to the appropriate Team Share.
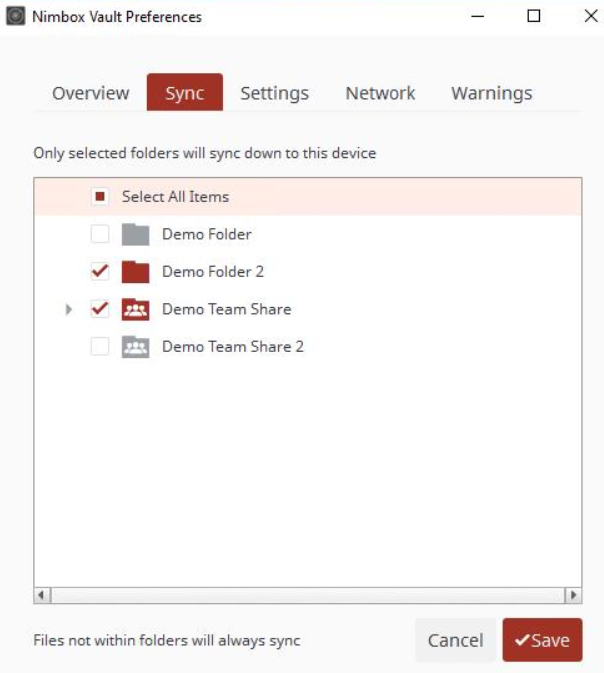
You can also click to expand individual Team Shares to deselect Team Share subfolders, or click to expand My Files to deselect personal folders.
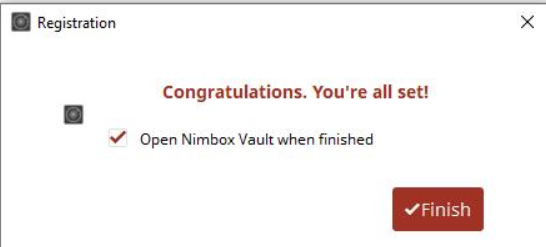
Continue the registration process until completion.
Configure Selective Sync after agent installation
You can also use the Selective Sync feature after registration is complete.
Click the system tray icon and select Nimbox, then select the manage icon in the top right, select preferences, then navigate to the sync tab and select the items you require and click save.
In the Selective Sync pop-up window, click to expand individual Team Shares to select or deselect Team Share or Team Share subfolders. Alternatively, click to expand My Files to select or deselect personal folders.
Note: A personal ‘My Files’ subscription is required for content to sync to your computer. For this reason, you cannot deselect the top-level My Files folder.
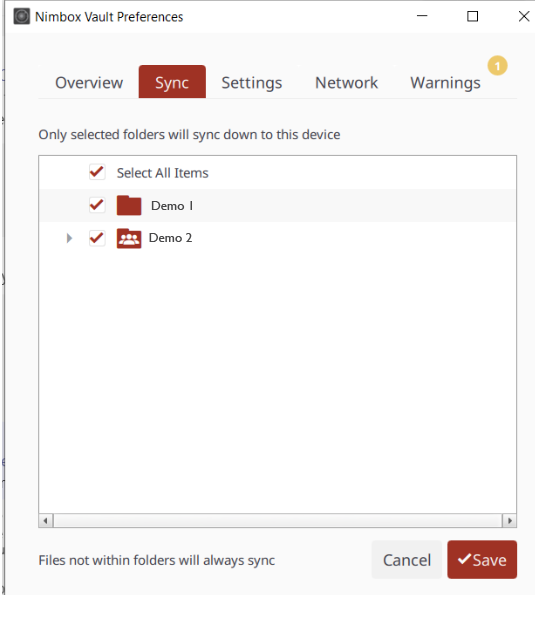
Click the Save button when you are finished selecting and deselecting content.
A confirmation dialog box will display, notifying you that only the selected items will sync down to your machine. All other folders will still be available in the web portal, and on any other device that can selectively sync content.

Click the Update button to confirm these changes. The agent will then update your files.