Snapshot a personal folder
The Snapshot feature will copy the target data into a new Team Share. Organisation Admins’ can then subscribe users to the new Share.
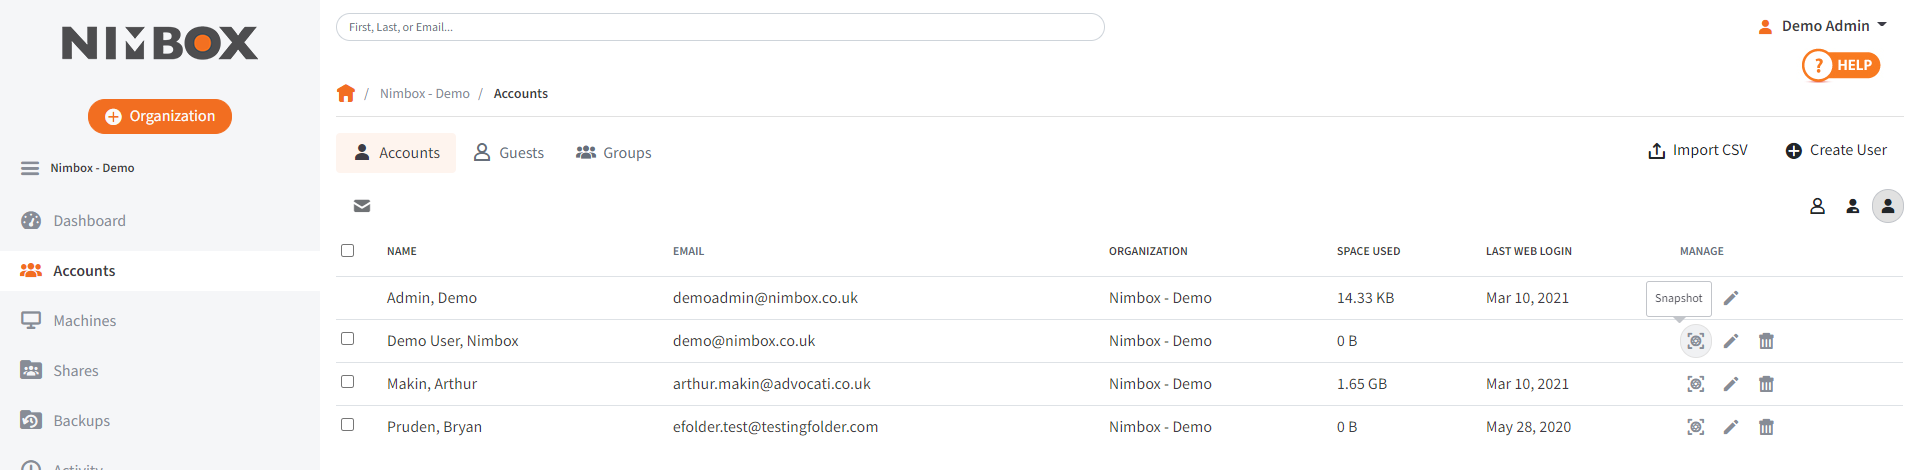
In your dashboard, click the Accounts tab. Find the infected account, and then click the Snapshot button:
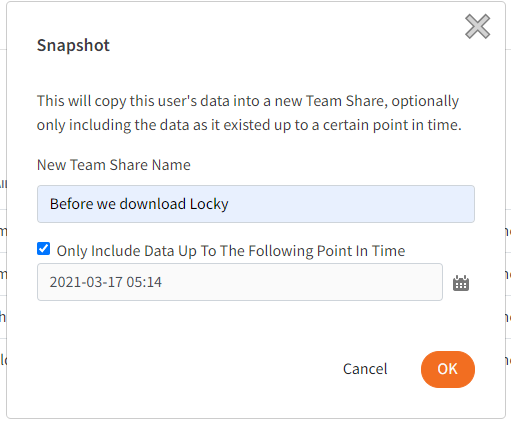
When the Snapshot dialog box appears, enter a descriptive name. If you need to capture files from before a specific point in time (such as a ransomware attack), select Only Include Data Up To The Following Point In Time, and enter a date and time. Click OK:
Depending on the size of the data affected, this may take a while.
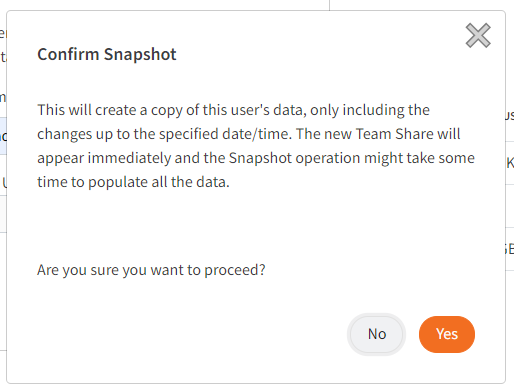
A Confirm Snapshot dialog box appears, asking you to confirm or abort the request:
The new Team Share containing the recovered data now appears in the Shares page:

Important note on purged files and folders
Purged data cannot be recovered using this feature. Purged data is:
- Data that has been deleted, and then deleted from trash
- Data that has been deleted, deleted from trash, and then manually recreated under the same name
- Data that has been moved from a folder that is later purged (in this instance, revision history from the original folder location will not be recoverable)
Deletion and purging settings can be configured using custom policies.