Map a drive using WebDAV - Mac OS
Vault supports Web Distributed Authoring and Versioning (WebDAV), which is an extension of the HTTP protocol. WebDAV is another way for end users to view and edit documents, both personal and through team shares, located on the Nimbox cloud.
Benefits of using WebDAV include:
- End users do not need to install agents.
- Shared files are not stored locally.
- Folders and files are accessible through the end users’ native explorer (for example, a mapped drive in Finder).
- Authentication through Active Directory login credentials is supported.
- WebDAV can be enabled for all users of a given organisation, or on a user-by-user basis.
Known Issues of WebDAV:
Whilst files stored on Vault can be accessed via WebDAV, it is important to note that WebDAV is an extension of the HTTP protocol, and is unrelated to the Vault system. Some of its limitations and known issues may be not be controlled by the Nimbox support team. For example:
- Microsoft Office for Mac may require end users to log in each time they access the mapped drive or open a document in the mapped drive.
- Microsoft Office for Mac Word documents may open in Read-only mode (refer to this TechCenter discussion for more information).
- End users may be prompted to log in each time they open or save a Microsoft Office document in a mapped drive.
- WebDAV may disconnect at random intervals.
- WebDAV may fail to restore mapping after rebooting the operating system.
In some instances, you may see improved performance when using a third party application (such as Cyberduck) to replace Mac Finder.
Before attempting to connect to your Vault files using WebDAV, you must first enable it in the Admin Console
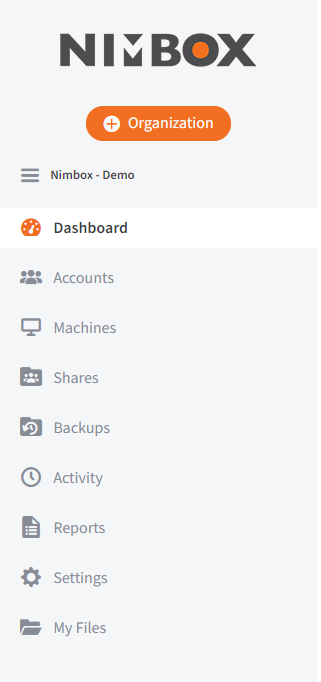
Click the Accounts tab:
In the Accounts tab, find the appropriate user account, and click the Edit button:

In the Account Settings page, click the WebDAV Access checkbox:

Click the Save button when you are finished.
Enabling WebDAV connections to Team Shares
In the Admin Console, click the Shares tab:
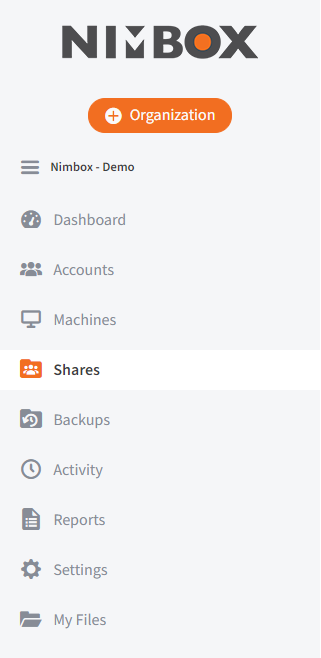
Find the Team Share that you wish to edit. Click the ‘users‘ icon:

In the Subscribers section, select WebDAV:
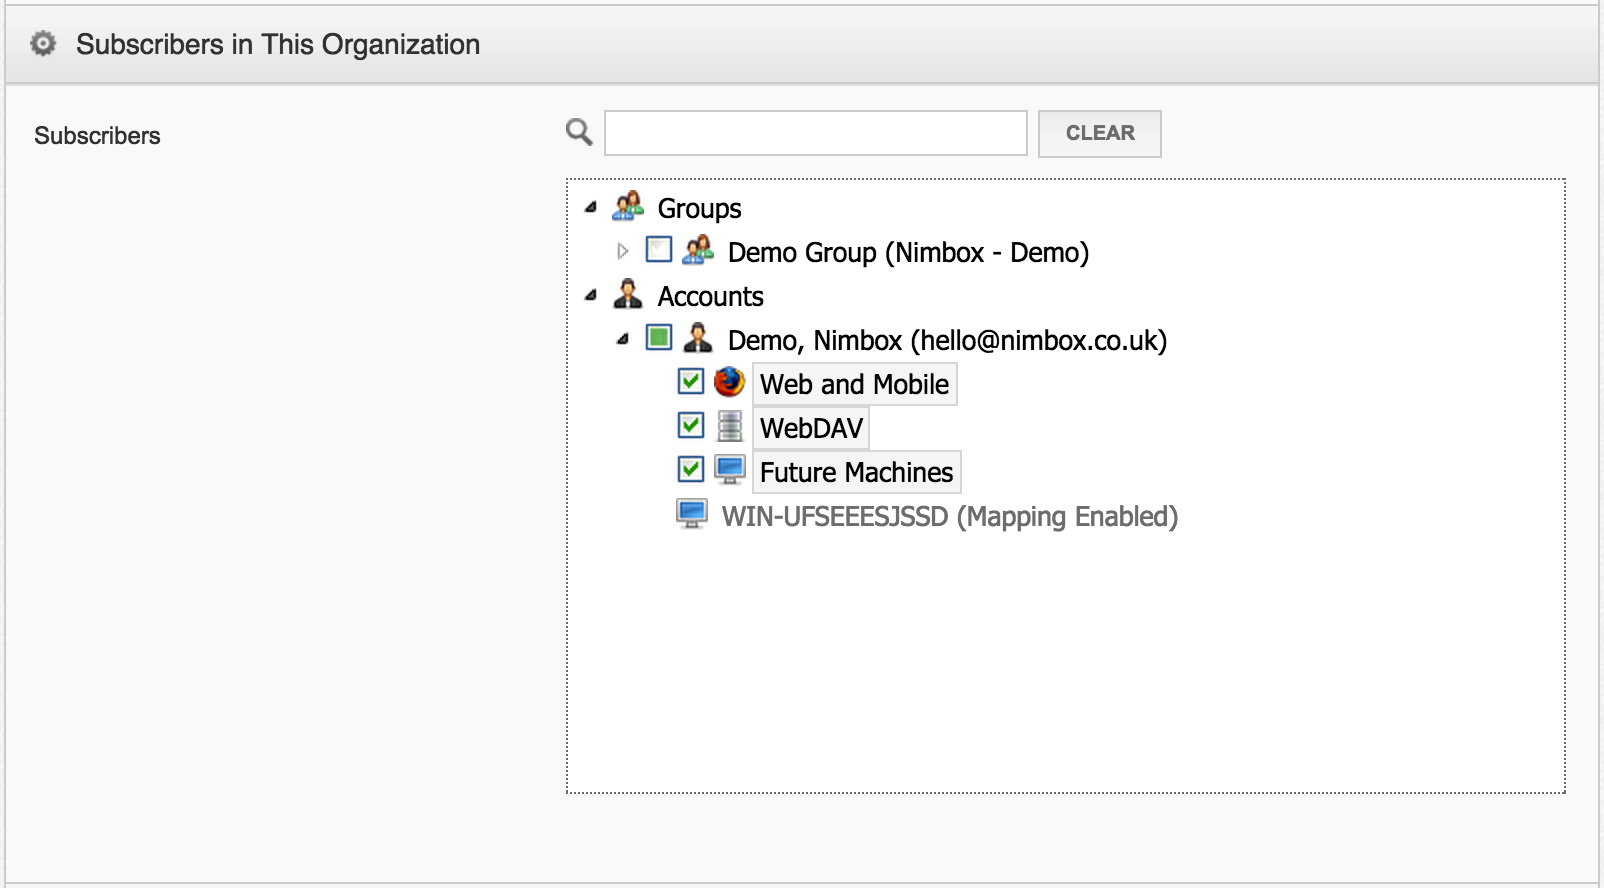
Click Save.
Connecting to WebDAV
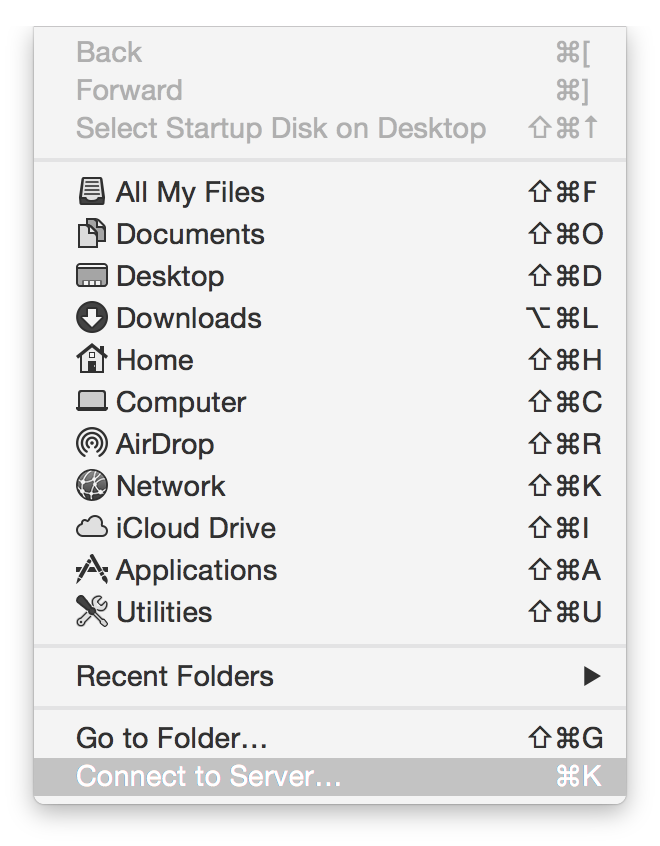
In Finder, click the Go menu and select Connect to Server:
In the Connect to Server window, enter https://sync.nimbox.co.uk, and click the Connect button:

If you want to connect directly to a Team Share (or other folder), format the Folder field like this: https://sync.nimbox.co.uk@SSL/*Folder Name*
When prompted, enter your username and password. Active Directory users must enter credentials as domain\username:
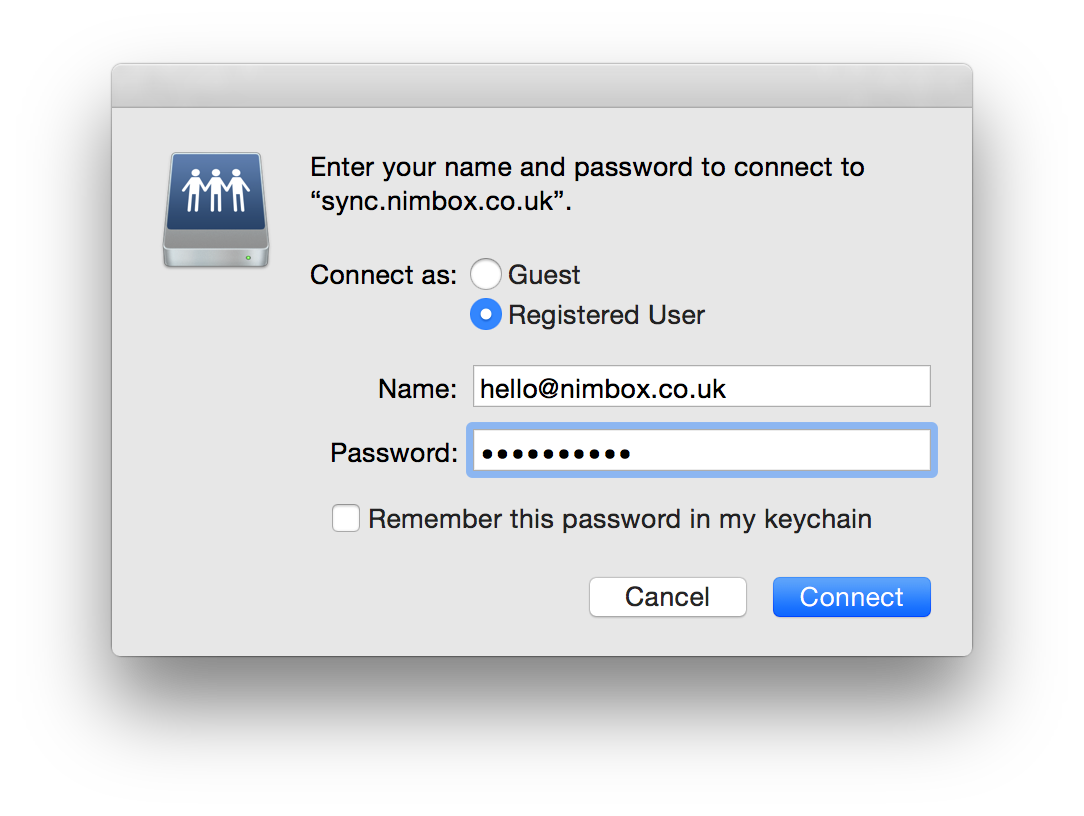
When you are finished, click the Connect button.
Your Vault files (and any authorised Team Shares) will now appear in Finder under the Shared menu:
