Install Nimbox on a Mac
After signing in to Vault, click Download Nimbox Vault App, and choose Mac Agent:

If you are asked whether you want to open the file, click Open:
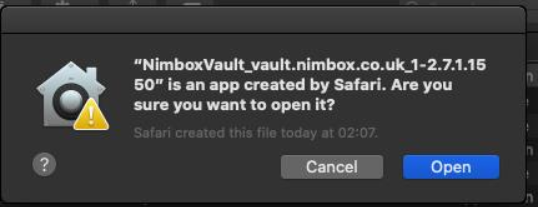
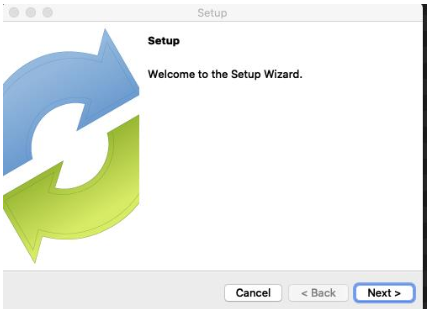
If prompted, enter your Mac account password. The installer will now launch. Click Next:
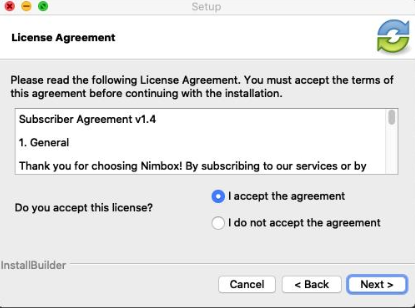
Read and then accept the licence agreement. Click Next:
Click Next again to begin the installation:
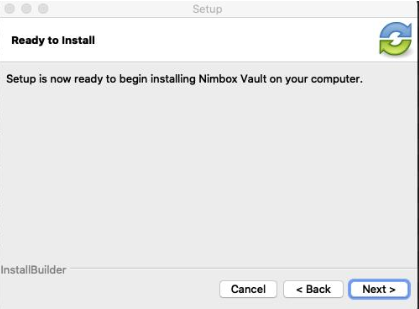
After the installation has completed, click Finish. You will now be asked to sign in to your Vault account. Click Next
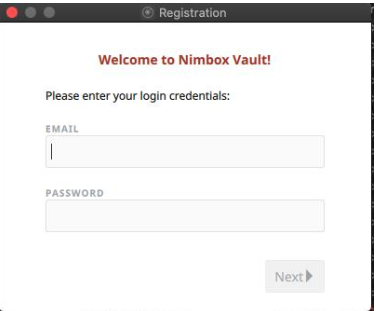
Enter your email and password. If you’re an enterprise user, you may need to enter your domain credentials. Click Next:
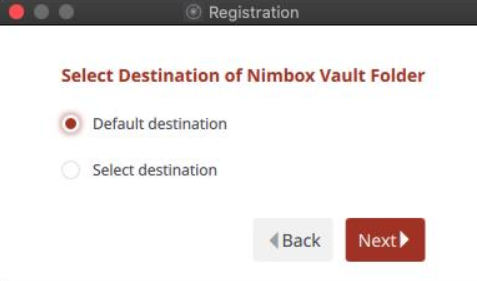
Choose your setup type. By default, your Vault folder is located in Macintosh HD\Users\Account Name\Nimbox Vault. Click Next:
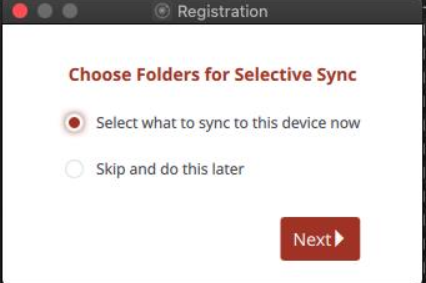
Choose your folders to sync. Click Next:
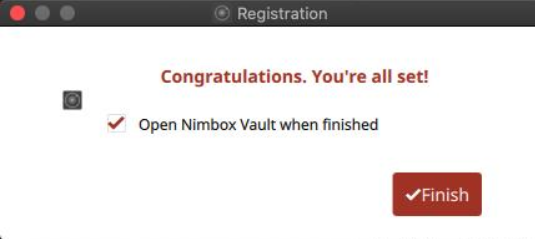
Vault is installed on your Mac. Click Finish:
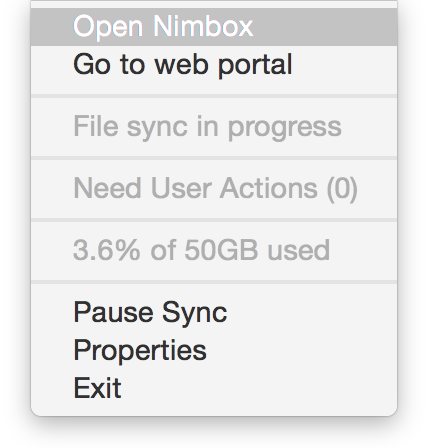
You can now view your files by clicking on the Nimbox Vault link in the Finder sidebar, or by using the Nimbox icon in the Menu Bar:
